
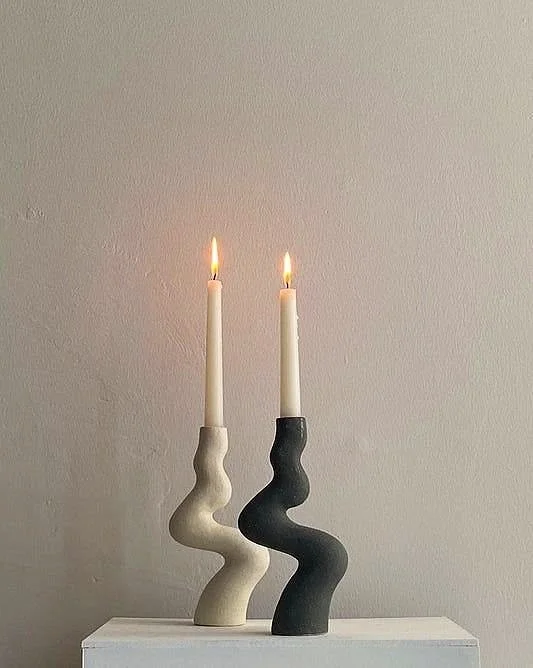
SCULPTED CLAY CANDLE HOLDERS
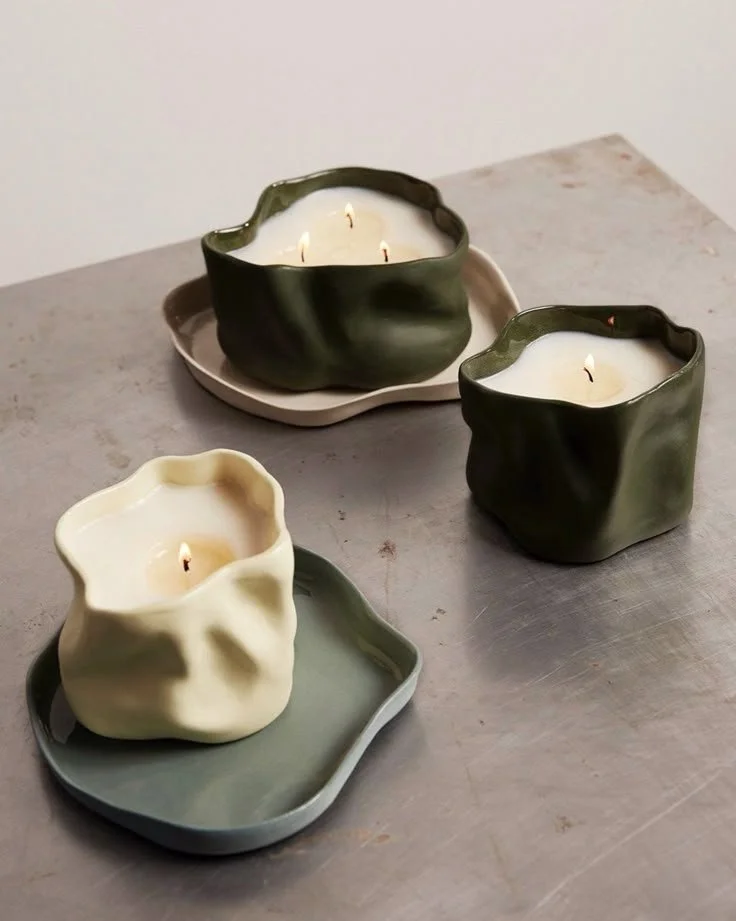
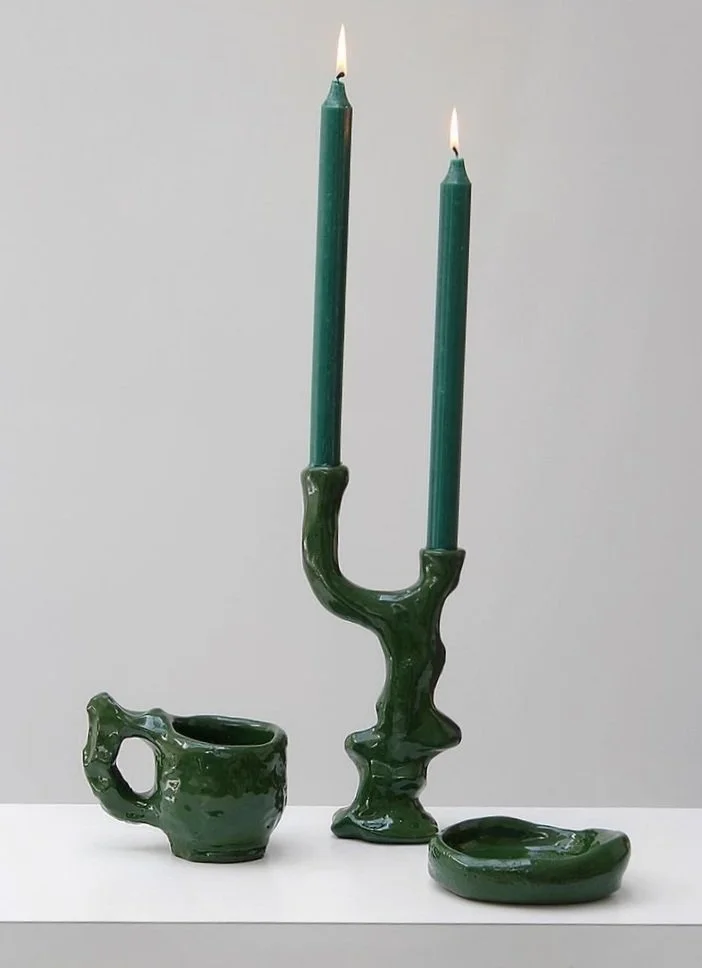
Vibe: Sculptural, imperfect elegance
Mood: Slow moments, hand-touched textures
Why It Fits: A nod to handmade luxury and intentional living, no two are the same, and that’s the beauty of it.
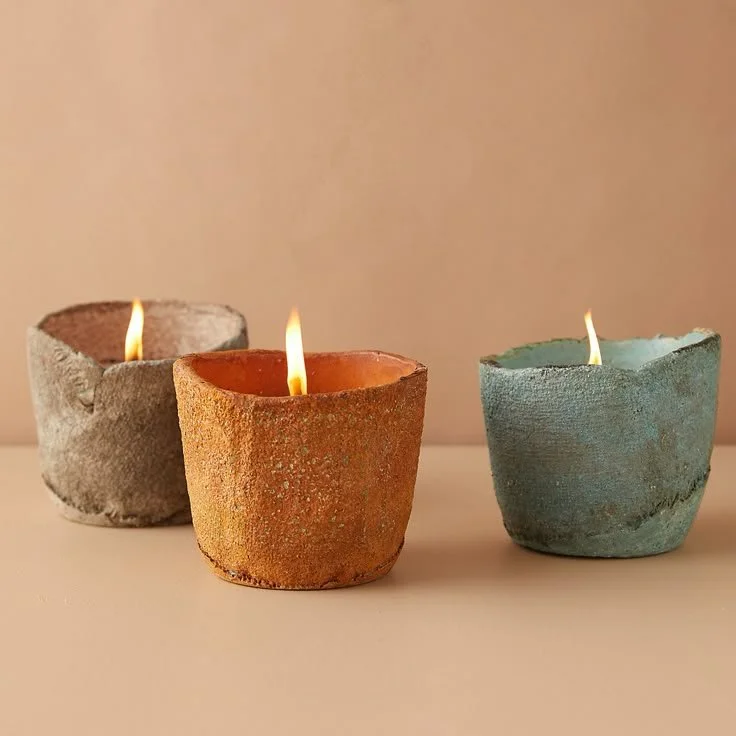
Scroll to the bottom of the page to help give you ideas of how you can shape/mold your candle holders
✂️
What You’ll Need
Air-dry clay (for a matte, natural finish) or oven-bake polymer clay (for a more refined, glossy look)
Rolling pin or glass bottle
Craft knife or butter knife
A smooth surface to work on
Candle (taper or tea light, for sizing your mold)
Optional: Texture tools like linen, lace, or wood stamps for detail
Sandpaper (fine grit)
Acrylic paint or natural pigments (optional for color)
Sealant or varnish (optional, for extra durability)
🛠️
How to Create:
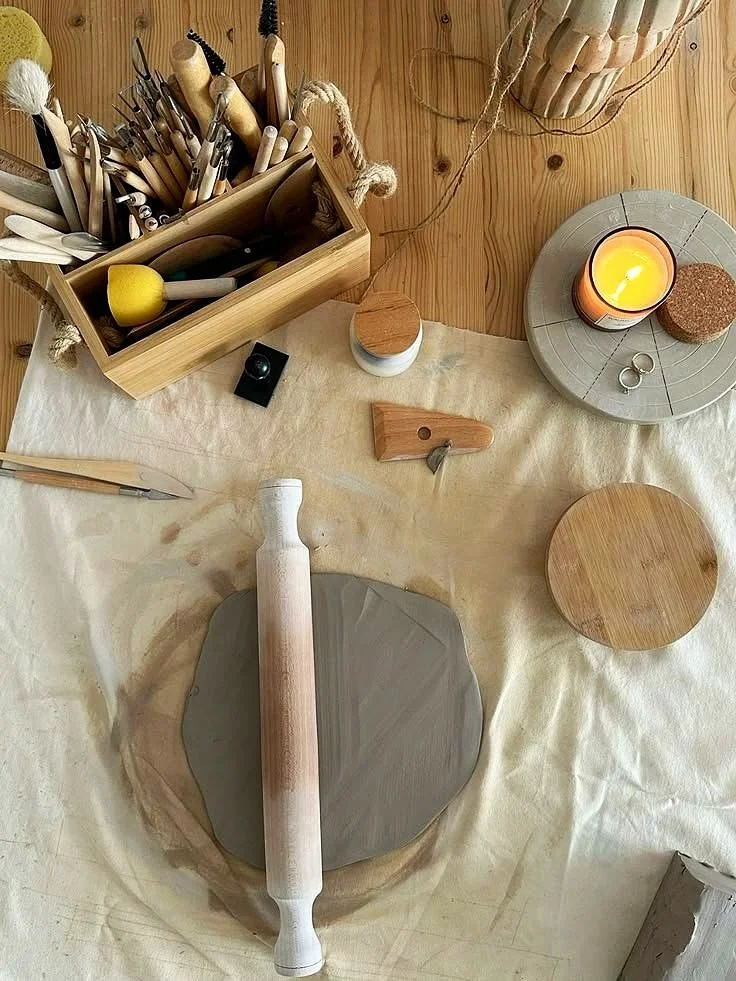
Step 1: Prepare the Clay
Condition your clay by kneading it gently. If it feels too hard, warm it slightly with your hands to make it pliable.
Step 2: Roll It Out
Use your rolling pin to create a slab about 1cm thick, not too thin or it will crack, but not too chunky either.
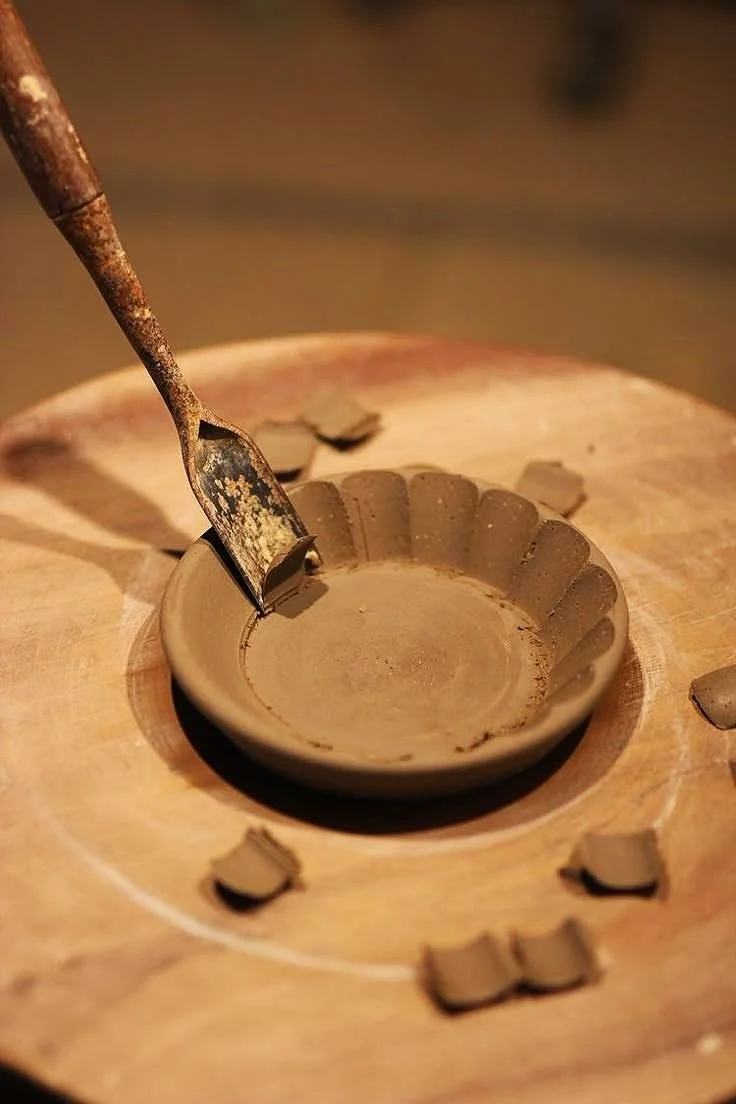
Step 3: Shape It
Cut a small circle or base depending on the type of holder you're creating:
For taper candles: Roll a coil and create a donut shape to hold the base of the candle.
For tea lights: Mold a shallow bowl using your fingers, smoothing edges for an organic feel.
Step 4: Add Texture (Optional)
Press linen, wood, or lace gently onto the surface for subtle, tactile interest, or leave smooth for a raw, sculptural finish.
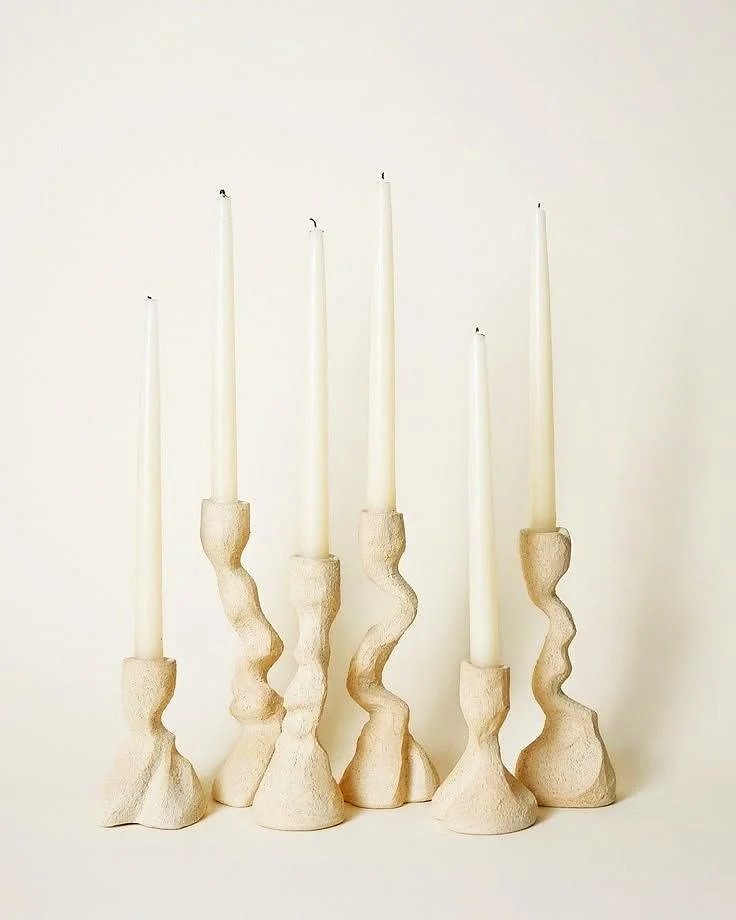
Step 5: Mold to Fit
Insert your candle (wrapped in cling film or foil to avoid sticking) into the holder to create a custom-fit opening. Don’t worry about imperfections, they add charm.
Step 6: Dry or Bake
Air-dry clay: Let cure for 24–48 hours in a cool, dry spot.
Oven-bake clay: Follow package instructions, usually baking at 130°C (275°F) for 15–30 mins.

Step 7: Sand & Seal (Optional)
Once cured, gently sand any rough edges, color paint of your choosing and seal with a clear varnish if desired.
Step 8: Style & Use
Place on a tray, shelf, or your favorite nook. Let it catch golden hour light, and watch as it quietly elevates your space.
Tips:
Try working with warm, earthy tones like terracotta, off-white, or sage for a grounded feel.
Want a wabi-sabi look? Pinch the clay instead of smoothing it, embrace the imperfection.
Make a matching set in different heights for a layered, boutique look.

Sources & Inspirations
- Pictures sourced from Pinterest mood boards
